
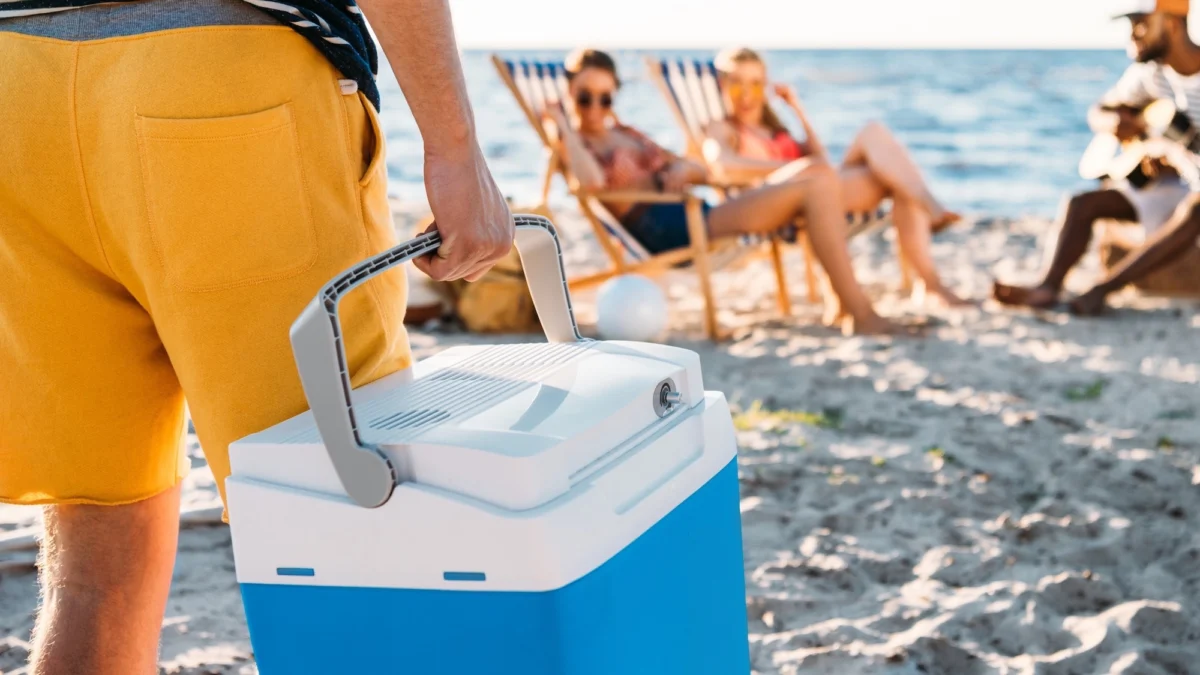
The humble cooler, a ubiquitous companion to summer excursions, picnic baskets, and tailgating events, plays a pivotal role in preserving the freshness and appeal of our food and beverages when we venture outdoors. While many might consider the act of filling a cooler with ice and provisions a straightforward task, a deeper understanding of packing techniques can significantly enhance its cooling efficiency and longevity. This guide delves into the science and strategy behind optimal cooler packing, transforming a simple container into a peak-performance refreshment hub for any adventure.
The Foundation: Selecting the Right Cooler
The efficacy of any cooler begins with its inherent design and construction. The market offers a diverse range of coolers, each tailored to specific needs and durations of use. Understanding the trade-offs between insulation, weight, and portability is crucial for making an informed choice.
Hard-Sided Coolers: These robust containers are typically constructed with thick, insulating walls, often made of polyurethane foam sandwiched between durable plastic shells. Their primary advantage lies in their superior ability to maintain low temperatures for extended periods, often measured in days. This makes them ideal for multi-day camping trips, extended fishing expeditions, or long road trips where access to ice replenishment may be limited. The trade-off for this enhanced insulation is often increased weight and bulk, making them less convenient for short hikes or situations requiring frequent carrying. Models with wheels have become increasingly popular, mitigating the weight issue for longer distances. According to industry reports, high-performance hard-sided coolers can maintain ice for up to five to seven days under optimal conditions, a significant improvement over standard models which might only last one to two days.
Soft-Sided Coolers: In contrast, soft-sided coolers are constructed from flexible, durable materials like nylon or polyester, often featuring insulated linings. Their key advantage is their lightweight nature and packability, making them an excellent choice for day trips to the beach, park picnics, or shorter hikes where ease of transport is paramount. While generally offering less insulation than their hard-sided counterparts, advancements in insulation technology have led to soft coolers capable of keeping items cold for up to 24 hours, a remarkable feat for such a flexible design. Their adaptability also allows them to be compressed when not fully loaded, saving space during transport.
The choice between hard and soft coolers ultimately hinges on the specific demands of the outing. For expeditions where prolonged cold is the priority, a high-quality hard-sided cooler is the superior option. For convenience and portability on shorter excursions, a well-designed soft cooler can be perfectly adequate.
Pre-Cooling: The Unsung Hero of Cooler Performance
One of the most commonly overlooked yet critically important steps in maximizing a cooler’s effectiveness is pre-cooling. The latent heat absorbed by a cooler’s interior from its surroundings before being loaded can significantly impact its ability to keep contents cold.
When a cooler is taken from a warm environment, such as a garage or attic, and immediately filled with ice and food, the trapped heat within the cooler’s walls and base begins to work against the ice. This internal heat causes the ice to melt at an accelerated rate, diminishing the cooler’s overall cooling capacity from the outset. Experts at leading cooler manufacturers, such as Yeti, emphasize that this initial heat transfer can reduce the effective lifespan of ice by as much as 20 to 30 percent.
To combat this, it is recommended to pre-chill the cooler thoroughly. This can be achieved by placing the empty cooler in a cool environment, such as an air-conditioned room or a shaded outdoor area, for several hours prior to packing. An even more effective method is to introduce a sacrificial layer of ice or frozen water bottles into the empty cooler at least two to four hours before loading. This initial chilling process saturates the cooler’s insulation with cold, preventing it from drawing heat from the contents once they are added. For extended trips, some enthusiasts even recommend pre-chilling the cooler overnight.
Strategic Packing: Layering for Longevity
The arrangement of items within the cooler plays a crucial role in maintaining consistent temperatures. A well-packed cooler minimizes air pockets and ensures that cold air circulates efficiently.
The Bottom Layer: The Ice Foundation: The base of the cooler should be dedicated to the primary cooling agents. This typically involves a generous amount of ice. For optimal results, a combination of block ice and cubed ice is often recommended. Block ice melts more slowly than cubed ice, providing a sustained cooling effect. Cubed ice, while melting faster, can help fill gaps and cool items more rapidly. For longer trips, consider using frozen water bottles as part of your ice base. Not only do they contribute to the overall chill, but they also provide a source of drinking water as they thaw.
The Middle Layer: Perishables and Frozen Goods: Items that need to remain coldest, such as raw meats, dairy products, and pre-frozen meals, should be placed directly on top of the ice. It is advisable to pack these items in sealed containers or bags to prevent any potential leakage and cross-contamination. For meats, double-bagging is a good practice. Placing these items closer to the bottom ensures they benefit most directly from the primary cooling source.
The Top Layer: Frequently Accessed Items and Beverages: Items that will be accessed more frequently, such as beverages, fruits, and snacks, should be placed on top. This strategy minimizes the need to rummage through the entire cooler, which allows cold air to escape. By keeping frequently used items at the top, you reduce the duration the cooler is open, thereby preserving its internal temperature.
Filling Gaps and Maximizing Space: Air is an insulator, and while some air circulation is necessary, excessive empty space can lead to inefficient cooling. After loading the main items, fill any remaining gaps with more ice, frozen water bottles, or even crumpled towels or newspaper. The goal is to create a densely packed environment that minimizes air pockets.
Advanced Techniques for Extended Cooling
Beyond basic packing strategies, several advanced techniques can further extend a cooler’s cooling performance:
-
Frozen Water Bottles: As mentioned, freezing water bottles is a dual-purpose strategy. They act as ice packs, and as they melt, they provide potable water. This is particularly useful for camping or hiking where water sources may be scarce or unreliable. For a 24-hour period, using frozen water bottles can be as effective as using loose ice.
-
Dry Ice: For extreme cooling needs, such as transporting perishable items for extended periods or during exceptionally hot weather, dry ice can be employed. Dry ice is solid carbon dioxide and has a surface temperature of -78.5 degrees Celsius (-109.3 degrees Fahrenheit). However, its use requires caution due to its extreme cold, which can cause frostbite. It should never be placed in direct contact with food or beverages, as it can freeze them solid. A barrier, such as cardboard, should be used between the dry ice and the contents. Furthermore, dry ice sublimates into carbon dioxide gas, which can displace oxygen in enclosed spaces, necessitating good ventilation. When using dry ice, ensure the cooler is not completely airtight to allow for gas escape.
-
Insulating the Cooler: For those seeking to maximize the performance of an already good cooler, additional insulation can be added. This can include lining the cooler with reflective insulation or adding extra foam padding to the lid and sides. While this might add some bulk, it can significantly improve the cooler’s thermal resistance, especially in extreme heat.
-
Cooler Placement: The location where the cooler is placed during an outing is as important as how it is packed. Always keep the cooler in the shade. Direct sunlight can heat the cooler’s exterior rapidly, transferring heat to the interior. If shade is not available, consider using a tarp or blanket to cover the cooler, creating a shaded micro-environment.
-
Minimizing Openings: Every time the cooler is opened, cold air escapes and warm air enters. Develop a system for accessing items to minimize the time the lid is open. Prepare pre-portioned snacks or drinks in smaller, separate containers if possible, so you don’t have to open the main cooler for every small item.
The Science of Ice and Temperature
The effectiveness of a cooler is fundamentally tied to thermodynamics and phase transitions. Ice, in its solid form, requires a significant amount of energy (heat) to transition into its liquid state (water). This process, known as the latent heat of fusion, is what allows ice to absorb heat from its surroundings and keep the contents of the cooler cold. Water has a specific heat capacity of approximately 4.18 joules per gram per degree Celsius, meaning it takes 4.18 joules of energy to raise the temperature of 1 gram of water by 1 degree Celsius. Ice, however, requires about 334 joules per gram to melt at 0 degrees Celsius. This significantly higher energy requirement for melting is why ice is so effective at maintaining cold temperatures.
The ideal temperature for food safety and beverage refreshment within a cooler is generally considered to be below 4 degrees Celsius (40 degrees Fahrenheit). This temperature range significantly slows the growth of most foodborne pathogens. By employing proper packing techniques, the goal is to maintain this temperature for as long as the outing requires.
Broader Implications and Enjoyment
Mastering cooler packing is not just about keeping food cold; it’s about enhancing the overall outdoor experience. A well-chilled beverage on a hot day, a safe and fresh picnic lunch, or the ability to keep sensitive medications at the correct temperature can transform a potentially disappointing outing into a memorable one. The principles of efficient thermal management extend beyond coolers, influencing everything from home insulation to the design of refrigerated transport systems.
The ability to reliably keep food and drinks cold also has implications for outdoor recreation, enabling longer camping trips, more ambitious day hikes, and more enjoyable beach days. It promotes food safety, reducing the risk of spoilage and illness, which is particularly important when enjoying food in environments without immediate access to refrigeration. As outdoor activities continue to grow in popularity, the humble cooler, when packed with knowledge and care, remains an indispensable tool for maximizing enjoyment and ensuring the safety and freshness of our provisions. By applying these strategies, adventurers can confidently embark on their journeys, knowing their portable refreshment station is optimized for peak performance.

