
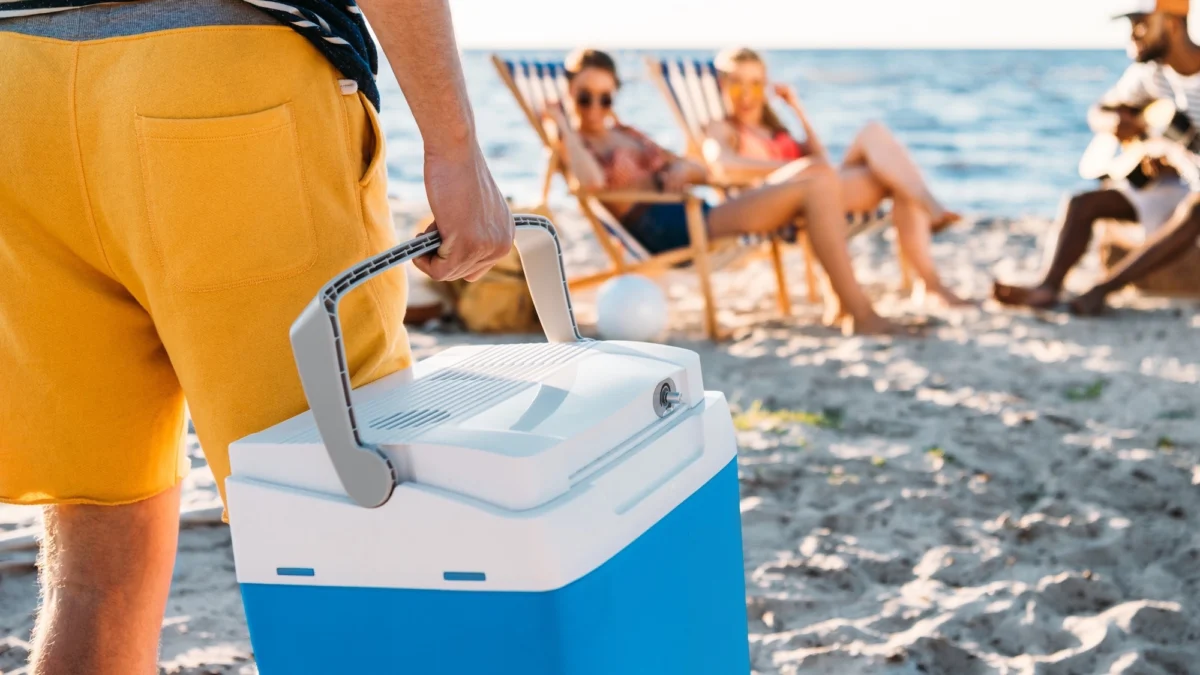
The humble cooler, a ubiquitous symbol of summer leisure and outdoor adventure, is far more than just a portable icebox. It’s a meticulously engineered vessel designed to preserve the delicate balance between ambient heat and chilled sustenance, a critical companion for everything from backyard barbecues to remote wilderness excursions. Yet, for many, the art of cooler packing remains a rudimentary exercise: toss in ice, add drinks, and hope for the best. This approach, while functional, often falls short of maximizing the cooler’s potential, leading to lukewarm beverages and spoiled snacks long before the day is done. Mastering cooler preparation is not just about convenience; it’s about ensuring food safety, preserving the quality of your provisions, and ultimately, enhancing the enjoyment of your outdoor experiences.
The Science Behind the Ice: Understanding Cooler Performance
The effectiveness of any cooler hinges on its ability to insulate. This is achieved through a combination of materials, design, and, crucially, how it’s packed. Modern coolers, particularly those in the premium segment, employ advanced insulation technologies, such as thick polyurethane foam, vacuum-sealed panels, and robust seals designed to minimize heat transfer. The R-value, a measure of thermal resistance, is a key indicator of a cooler’s insulating capacity. Higher R-values signify better insulation, meaning the cooler can maintain its internal temperature for extended periods, even in challenging external conditions.
Data from consumer testing organizations consistently show significant disparities in ice retention times between different types of coolers. While a basic foam cooler might only keep ice for a few hours, high-performance roto-molded coolers can retain ice for several days, sometimes even a week, under optimal conditions. This difference is directly attributable to the quality of construction and insulation. For instance, a study by the American Society of Refrigeration Engineers found that doubling the thickness of insulation can significantly increase the duration of ice retention. This highlights the fundamental principle: a better cooler generally performs better, but proper packing techniques can bridge the gap and elevate the performance of even moderately insulated models.
Choosing the Right Vessel: Hard vs. Soft Coolers
The initial step in achieving optimal cooler performance begins with selecting the appropriate cooler for your needs. Coolers can broadly be categorized into two main types: hard-sided and soft-sided.
Hard-sided coolers, often constructed from durable plastic like polyethylene, are renowned for their superior insulation and ice retention capabilities. These coolers are typically favored for longer trips, camping expeditions, and situations where durability is paramount. Their robust construction provides excellent protection for the contents and can withstand rough handling. However, their rigidity and substantial insulation often translate to greater weight and bulk, making them less ideal for situations requiring frequent carrying over long distances. Models with integrated wheels have emerged as a popular solution to mitigate the carrying challenges associated with larger hard coolers.
Soft-sided coolers, typically made from flexible, insulated materials like nylon or canvas, offer a compelling alternative for users prioritizing portability and flexibility. They are lighter, more compressible, and easier to store when not in use. These are excellent choices for day trips to the beach, picnics, or when transporting smaller quantities of food and beverages. The trade-off for their portability is generally a reduced ice retention time compared to their hard-sided counterparts. However, advancements in soft cooler technology have seen many models incorporating advanced insulation and leak-proof liners, narrowing the performance gap for shorter durations.
The decision between a hard and soft cooler should be guided by an honest assessment of the intended use: the duration of the outing, the accessibility of the location, and the volume of items to be chilled. For multi-day camping trips, a high-quality hard cooler is often the superior choice. For a short hike to a scenic overlook, a lightweight soft cooler might be more practical.
The Pre-Game Ritual: Preparing Your Cooler for Success
The most common and arguably the most impactful oversight in cooler packing is the neglect of pre-cooling. Most individuals, in a rush to embark on their outing, will grab a cooler from a warm garage or attic and immediately fill it with ice and provisions. This introduces a significant thermal deficit from the outset. The ambient heat absorbed by the cooler’s walls and interior will begin to melt the ice at an accelerated rate, compromising its cooling efficiency.
Industry experts, including those from leading cooler manufacturers like Yeti, strongly advocate for a pre-cooling phase. This involves chilling the cooler itself before loading it with food and ice. A simple yet highly effective method is to fill the empty cooler with bags of ice or frozen water bottles several hours, or even the night, before packing. This allows the cooler’s insulation to reach a low temperature, creating a stable cold environment that will preserve the ice loaded for the outing for much longer. Furthermore, storing the pre-chilled cooler in a cool, shaded location until departure further minimizes heat gain.
Strategic Packing: Maximizing Cold Retention
Beyond pre-cooling, the internal arrangement of items within the cooler plays a crucial role in maintaining optimal temperatures. The principle of layering is fundamental.
Layering for Longevity
- Bottom Layer: The Foundation of Cold: Start by placing a generous layer of ice or frozen gel packs at the very bottom of the cooler. This forms the primary cold reservoir. Frozen water bottles are an excellent option as they serve a dual purpose: they contribute to the cooling effect and, as they melt, provide drinking water.
- Mid-Layer: Dense and Cold-Resistant Items: Next, introduce the items that are least likely to be accessed frequently or those that are most dense and can withstand prolonged cold. This often includes raw meats (properly sealed), heavy-duty beverages, and larger food containers. Placing these items directly on the ice layer ensures they remain consistently chilled.
- Upper Layer: Frequently Accessed Items: Perishable items that will be consumed throughout the day, such as sandwiches, salads, fruits, and dairy products, should be placed in the upper layers. This minimizes the time these items are exposed to warmer air when the cooler is opened.
- Top Layer: The Final Barrier: A final layer of ice or gel packs on top provides an additional barrier against heat entering the cooler from above. This is particularly important if the cooler will be exposed to direct sunlight.
The Role of Ice: Types and Techniques
The type of ice used can significantly impact performance:
- Block Ice: Large blocks of ice melt more slowly than cubed ice, providing a longer-lasting cooling effect. They are ideal for the bottom layer of the cooler to create a sustained cold environment.
- Cubed Ice: Cubed ice is useful for filling in gaps and surrounding individual items, ensuring more uniform cooling. However, it melts faster and can create more water.
- Dry Ice: While not suitable for all items due to its extreme cold (-78.5°C or -109.3°F), dry ice can be highly effective for very long trips or for preserving frozen goods. It must be handled with extreme caution, using gloves and ensuring adequate ventilation, as it can cause frostbite and suffocate in enclosed spaces. It should never be placed in direct contact with food or beverages unless specifically intended.
Maximizing Space and Minimizing Air
- Fill to Capacity: A cooler packed to its brim will retain cold better than a half-empty one. Air pockets allow heat to circulate more freely. If you have space, fill any remaining gaps with extra ice, towels, or crumpled newspaper to reduce air volume.
- Organize for Efficiency: Group similar items together. This reduces the need to rummage through the cooler, minimizing the time the lid is open and cold air escapes. Consider using smaller, reusable containers to compartmentalize items, making them easier to access without disturbing the entire contents.
Beyond the Basics: Advanced Cooler Strategies
Several other techniques can further enhance cooler performance and convenience:
- Freeze Your Drinks: As mentioned, freezing water bottles or juice boxes the night before not only contributes to the cooling but also provides a cold beverage as it thaws. For carbonated beverages, freezing them entirely can cause the containers to burst, so ensure there is adequate headspace for expansion or consider partial freezing.
- Insulate the Exterior: For particularly demanding situations or if using a less insulated cooler, consider wrapping the cooler in a blanket or sleeping bag once it’s packed. This adds an extra layer of insulation against external heat.
- Consider Two Coolers: For longer outings, using two coolers can be a strategic advantage. One cooler can be designated for drinks, which are frequently accessed, while the other can be reserved for food items, which are accessed less often. This minimizes the temperature fluctuations in the food cooler.
- Elevate and Shade: Whenever possible, place your cooler on a raised surface (like a picnic table) rather than directly on hot ground. Crucially, keep the cooler in the shade at all times. Direct sunlight can dramatically increase the internal temperature.
The Broader Impact: Food Safety and Environmental Considerations
The meticulous packing of a cooler extends beyond mere comfort; it is a matter of food safety. Temperatures above 40°F (4°C) can allow bacteria to multiply rapidly, increasing the risk of foodborne illness. By maintaining a consistently cold environment, proper cooler packing protects your health and prevents food spoilage, reducing waste. This is particularly important in remote areas where access to refrigeration is limited.
From an environmental perspective, a well-packed and efficient cooler can also contribute to sustainability. By extending the life of your ice and preventing premature spoilage, you reduce the need for frequent ice replenishment and the disposal of spoiled food. Choosing durable, reusable coolers over disposable options further supports environmental responsibility.
Conclusion: A Cooler, Better Experience
The art of packing a cooler is a skill that, once mastered, transforms the outdoor experience. It requires a shift from a reactive approach to a proactive one, emphasizing preparation, strategic arrangement, and an understanding of the underlying principles of insulation. By investing time in pre-cooling, thoughtful layering, and utilizing the right ice, individuals can significantly enhance their cooler’s performance, ensuring refreshing beverages and safe, chilled food throughout their adventures. From the casual beachgoer to the seasoned camper, mastering the cooler is a fundamental step towards a more enjoyable and worry-free outdoor lifestyle.

